All about planners
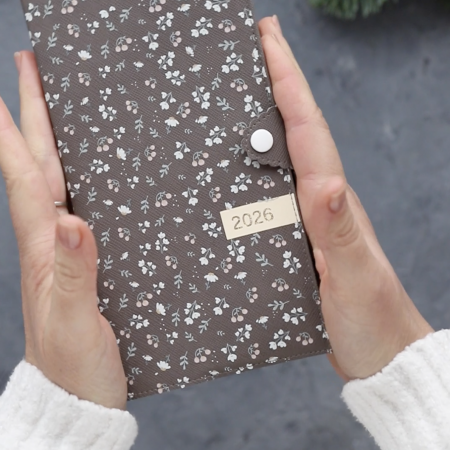
Meet bright and tender, neat and cosy planners!
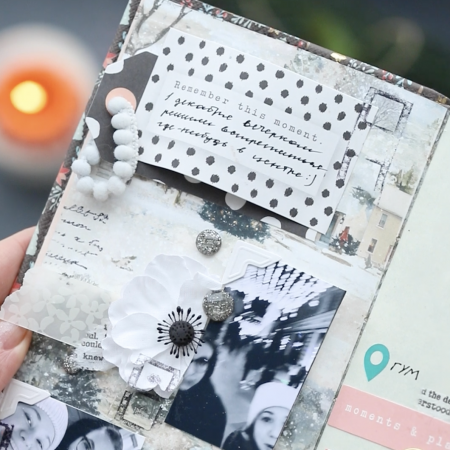
These planners won over the hearts of so many! They help us being proactive day after day, accurately plan your time and resources. It helps to reserve time for the happy moments and save warm memories on its pages. You can easily rotate the pages, add some new sheets and keep important trifles in the pockets.
This course includes the whole process of making such planners from scratch starting with cardboard basis and fabric or faux leather cover. Step by step we’ll go from simple things to more complicated and make the planners using the best practices I have. I’ll also show you how to design your own planner according to all your ideas.
You’ll get to know all the details on how to work with fabric and faux leather, how to wrap round corners and do perfect wraps of the flaps. I’ll tell you how to choose the paper, how to make different half belts and choose the basis for them so that they become flexible and wearproof. You’ll see how to build in the ring binder mechanism so that it was all inside the planner. Also we’ll sew the pockets for the cover perfect not only outside but also inside. I’ll provide you with know-how in designing the planners – golden edge on the perimeter, stitched cover, elements made of thermal transfer and how to use different fitting.
There are 6 planners in the course:
• square planner with fabric cover;
• square planner with fabric cover and golden edge;
• square planner with faux leather cover with semi-circle signature;
• square planner with faux leather stitched cover;
• mini-planner with fabric cover;
• A5 planner with fabric cover.
What does the course include?
• 12 detailed video-lessons with total time 1,5 hours. Video is shot from different angles. It’s edited so that you won’t waste time watching the boring process and each minute gives maximum valuable insights. If you want to make the planner with me just put the video on pause between the stages. But I recommend to watch the video first and only then start making the planner.
• There are three pattern on how to smartly cut out details for square planner, mini-planner and A5 planner.
• There are three types of dated pages for 2020 and 2021 in PDF for square planner, mini-planner and A5 planner.
• There are links to the on-line shops in case you want to use the same materials.
You don’t need a cutting machine to make a planner. But the layouts are provided if you do have one. They’ll make the process easier:
• layouts of all the details for three types of planners for the cutting machine
• layouts of paper dividing tabs for the cutting machine
• layouts for the signatures, frames for the pockets and dividing tabs
• layouts for the boxes to pack the square and mini-planner
Also there is a video about this design of the cover:
To make this planner you’ll need a cutting mat, utility knife, metal ruler, scoring tool and sewing machine. For the square planner size 23×20 cm you’ll need fabric or faux leather size 70х50 cm. For А5 planner the fabric size is 65х53 cm and for mini-planner which is 12х20 cm the fabric should be 45х45 cm. Also you’ll need a ring-binder mechanism. For the square planner the heigh of the mechanism is 17,5 cm with any diameter of the rings. The same height is good for mini-planner but the diameter should be 2-2,5 cm. For A5 planner the best height of the mechanism is 22 cm with any diameter of the ring you need.
I use Tacky Glue Original but you can use whatever glue you like. All the other materials and instruments can be substituted by something that you have at home. In the video I show you how to do that.
It takes from 4 to 8 hours to make one planner – it depends on your skills and experience.
These planners can be made both by experienced craftsman and by beginners. The video shows the process from the very beginning including the scoring process and cutting the paper and cardboard.
The course will appear in your online account right after the payment and will stay with you infinitely. You can rewatch the videos as you want anytime. All you need is internet connection.
This course includes full feedback – you can ask questions and comment below the video. I reply in 1-2 workdays.


